{Recipe} Sun(less) Dried Tomatoes

driedtomatoes

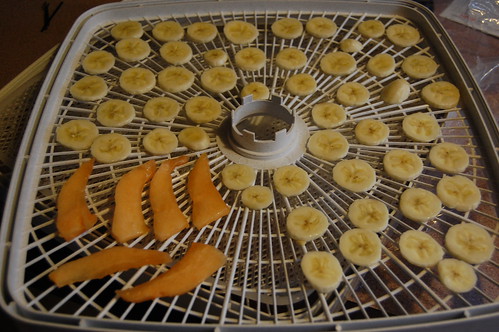
Although I have not yet finished this week’s CSA post, we got another 7 lbs. of tomatoes! Hooo-wee! So, I decided to whip out my dehydrator and make some dried tomatoes. They taste like sun-dried tomatoes, but you don’t have to leave them on a screen outside for several days 🙂

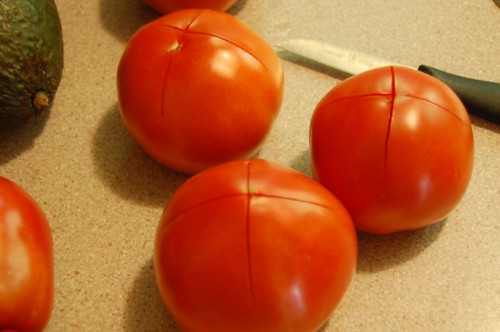
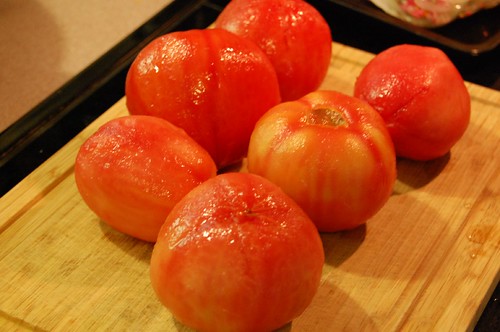
The first thing I did was to peel the tomatoes. This step is totally optional, but I don’t love the skin so I took the extra step.

DSC_0645

DSC_0648

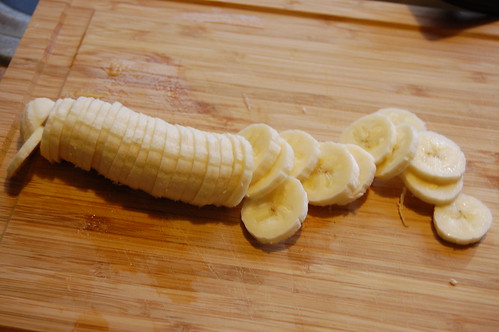
Next, slice them very thin — 1/4-1/8 of an inch. Use a serrated knife. You may keep the seeds or remove them. I think removing them helps speed the drying time, though.

DSC_0649

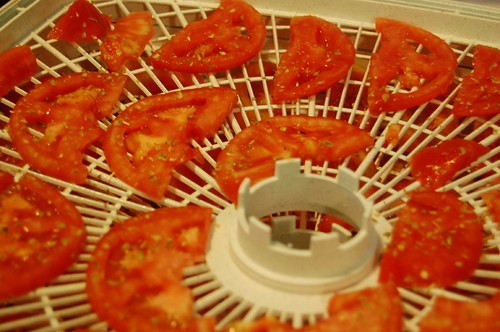
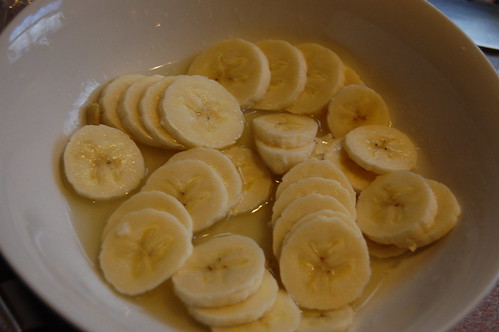
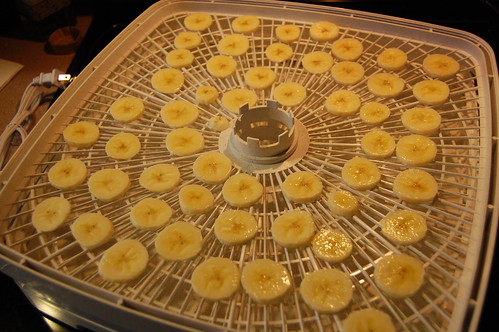
Arrange the slices on your dehydrators trays that have been misted with cooking spray or brushed with olive oil. Don’t crowd them — leave plenty of room for the air to circulate! At this point, feel free to season them if you’d like. I sprinkled on some salt and oregano.

DSC_0650

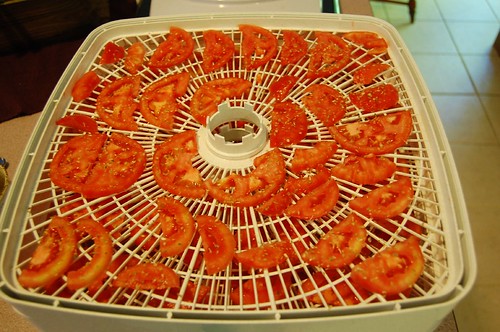
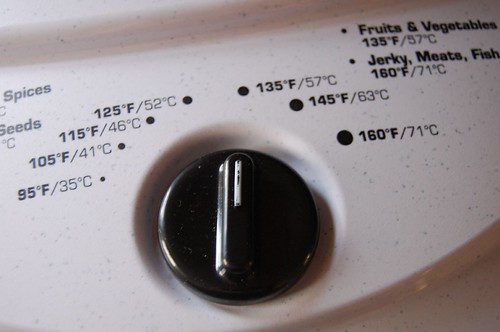
Turn your dehydrator to 135 degree and let it go for 8-12 hours. Check on the tomatoes periodically and rotate your trays if necessary.

DSC_0653

Make sure the tomatoes get very dry, not just chewy and tacky. Once they’re done, let the tomatoes cool off and then package them in an airtight jar or bag. Store in a cool, dry place. For long-term storage, stick them in your freezer.

Untitled

Use the dried tomatoes on pizza or salads, or add to stews or pasta dishes. Or just eat them for a snack. I don’t really care for raw tomatoes, but these are oh so good!

DSC_0684

I’m linking up with Sandra at Diary of a SAHM
because it’s Cooking Thursday!
Photobucket

yogurt drop flop

Do you remember Yogos? They were yogurt covered fruit bits that were sold a few years ago, but I can no longer find them. Which is fine, because I’m sure they were loaded with processed junk. But they were so tasty! Yes, even I loved them. So, I decided that with my trusty dehydrator, I could make my own.

I’d read about people making yogurt drops in their food dehydrators, so surely this was not an impossible task. I had lemon yogurt. I had blueberries. These babies were going to be awesome!

I put down the screen and without much thought I began dropping down yogurt blobs, then topping some with blueberries and some with walnuts.

yogurt drop flop

I turned the temperature to 135 degrees and let it go. About a half-hour later I realized that I never rubbed the screen with olive oil. This would be a problem.

yogurt drop flop

After about 2.5 hours I saw that really, what I had created, was flat yogurt blobs that weren’t going to release from the screen.

yogurt drop flop

Check it out. Who wants to eat that? It doesn’t look like a delicious yogurt-covered treat.

yogurt drop flop

Well, truth be told I did eat them because I hate wasting food. And the taste was actually pretty good. But I had to scrape them off with a spoon.

Oh well. You can’t win ’em all!

homemade banana chips

DSC_0067

For Christmas I gave Drew a food dehydrator. One of his favorite snacks is beef jerky, and he’s been talking about making it at home for a long time. I also thought it would be useful for preserving produce and herbs. (Go ahead – make the joke that this was really a gift for myself, I’ve already heard it!)

Anyway, I was really psyched to try this thing out, but didn’t want to go too crazy for my maiden voyage into the world of dehydrated foods. I had a bunch of bananas that were on the brink, so I thought banana chips were the perfect choice.

Making them could not be easier. Basically, it went like this:

1) Cut the banana into thin slices.
DSC_0045

2) Give the slices a quick run through some lemon juice. You can add honey, cinnamon, or jazz it up in some other way but I opted to keep it simple. While this step is technically optional, it helps prevent the banana slices from getting too brown.
DSC_0046

3) Place the slices on one of the dehydrator trays, leaving plenty of room for airflow. Three bananas filled almost two trays (I also threw a little cantaloupe on there just for giggles.)
DSC_0047

DSC_0048

4) Turn the machine on and wait. And wait some more. And wait a little more. And just when you think they might be done — no — wait a few more minutes. All told I think it took about 6 hours of drying.
DSC_0049

And that is really all there is to it! When the bananas felt done, I carefully took them off the tray and stored them in a canning jar. For long-term storage you want something airtight, and you want to store them in a dark, dry place. But I knew these would not last that long.

DSC_0052

I don’t normally buy banana chips, but 2/3rds of my kids now love them. Jake and Noah both asked to take some for snack at school so I guess I will be making them more often. Honestly, it’s a great alternative to banana bread when those bananas are just a little too soft to eat. The dried cantaloupe was delicious, too!

I’m excited to experiment more: apple slices, zucchini chips, pears, watermelon, and of course herbs once the summer rolls around. Who knows, maybe I’ll even try making my own herbal tea mixes! So many possibilities!